Creating a Virtual Environment in Jupyter Notebook
As a Python developer, managing dependencies and packages for different projects can be a daunting task. This is where virtual environments come in handy. In this article, I’ll walk you through the process of creating a virtual environment in Jupyter Notebook.
Why Virtual Environments?
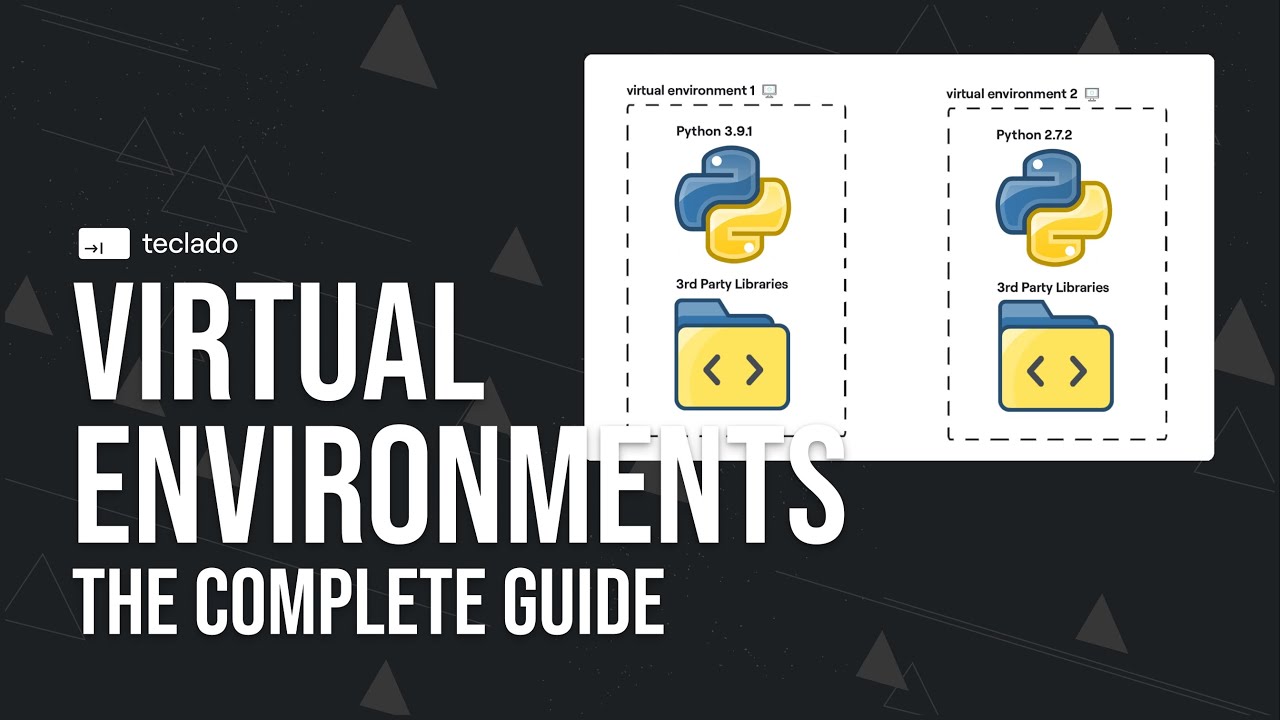
Virtual environments are isolated environments that allow you to manage dependencies and packages for different projects separately. This means that each project can have its own set of dependencies and packages without affecting other projects.
Imagine working on multiple projects that require different versions of packages. Without virtual environments, you’d have to install and uninstall packages repeatedly, which can be frustrating and time-consuming. Virtual environments solve this problem by creating a separate platform for each project, ensuring that dependencies and packages don’t conflict with each other.
Creating a Virtual Environment
To create a virtual environment, you’ll need to install Python and virtualenv. If you haven’t installed Python yet, you can download it from the official website.
Once you have Python installed, open a command prompt and type the following command to install virtualenv:
pip install virtualenv
Next, navigate to the directory where you want to create the virtual environment and run the following command:
virtualenv myenv
This will create a folder named myenv that contains a self-contained Python environment.
Activating the Virtual Environment
To activate the virtual environment, navigate to the myenv folder and run the following command:
myenv\Scripts\activate
On MacOS and Linux, you can activate the environment with:
source myenv/bin/activate
Installing Jupyter Notebook
While in your virtual environment, you need to install Jupyter Notebook:
pip install jupyter
Installing the IPython Kernel
To use Jupyter Notebook with your virtual environment, you need to install the IPython kernel:
pip install ipython
pip install ipykernel
ipython kernel install --user --name=myenv
python -m ipykernel install --user --name=myenv
Replace myenv with the name you want for your Jupyter kernel.
Installing the Bash Kernel
Inside the activated environment, run:
pip install bash_kernel
python -m bash_kernel.install
Starting Jupyter Notebook
Finally, start Jupyter Notebook with:
jupyter notebook
After starting Jupyter Notebook, you’ll find your created environments among the other ones.
 Creating a virtual environment in Jupyter Notebook
In conclusion, creating a virtual environment in Jupyter Notebook is a straightforward process that can help you manage dependencies and packages for different projects efficiently. By following these steps, you can create a virtual environment that meets your project’s specific needs.
Jupyter Notebook interface


